Edit 3D Model Bones Pose
Hello! In this tutorial, we’ll explore how to edit the pose of 3D model bones, understand how to integrate them with imported animations, and attach additional 3D objects.
Summary
1. Requirements
To begin, import a 3D Scene containing rigged bones. Optionally, import one with animations to try partial animation editing.
After importing your 3D Scene, select it and enable edit bones in the selected object panel.
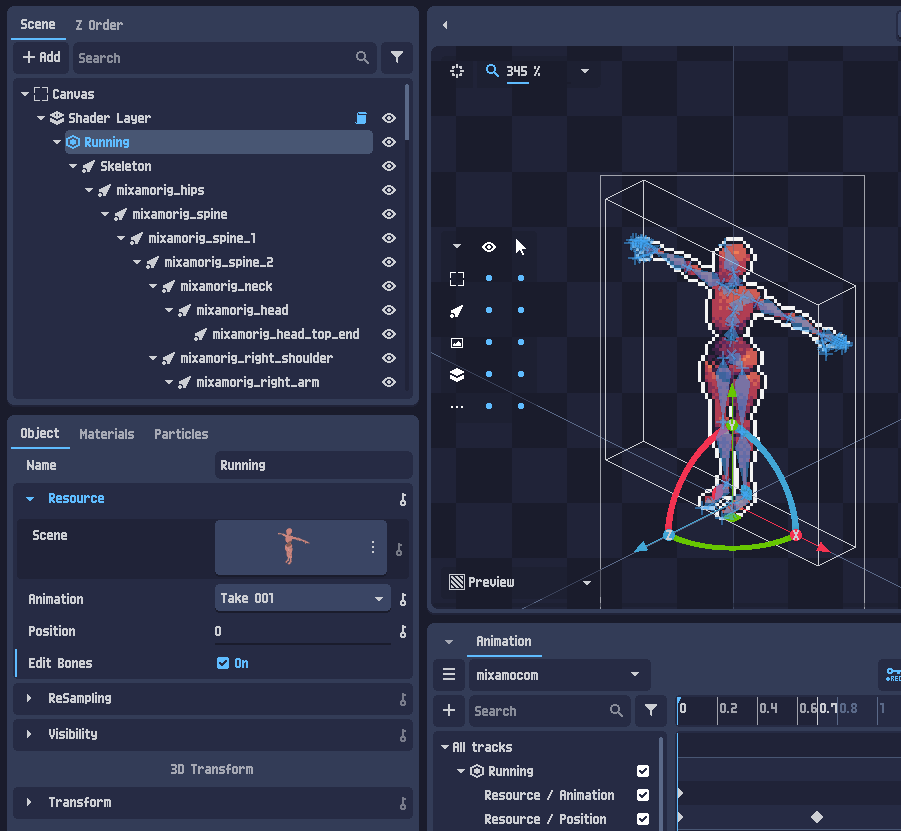
3D Bone objects will be generated as children of the 3D Scene.
2. Animate Bones Pose
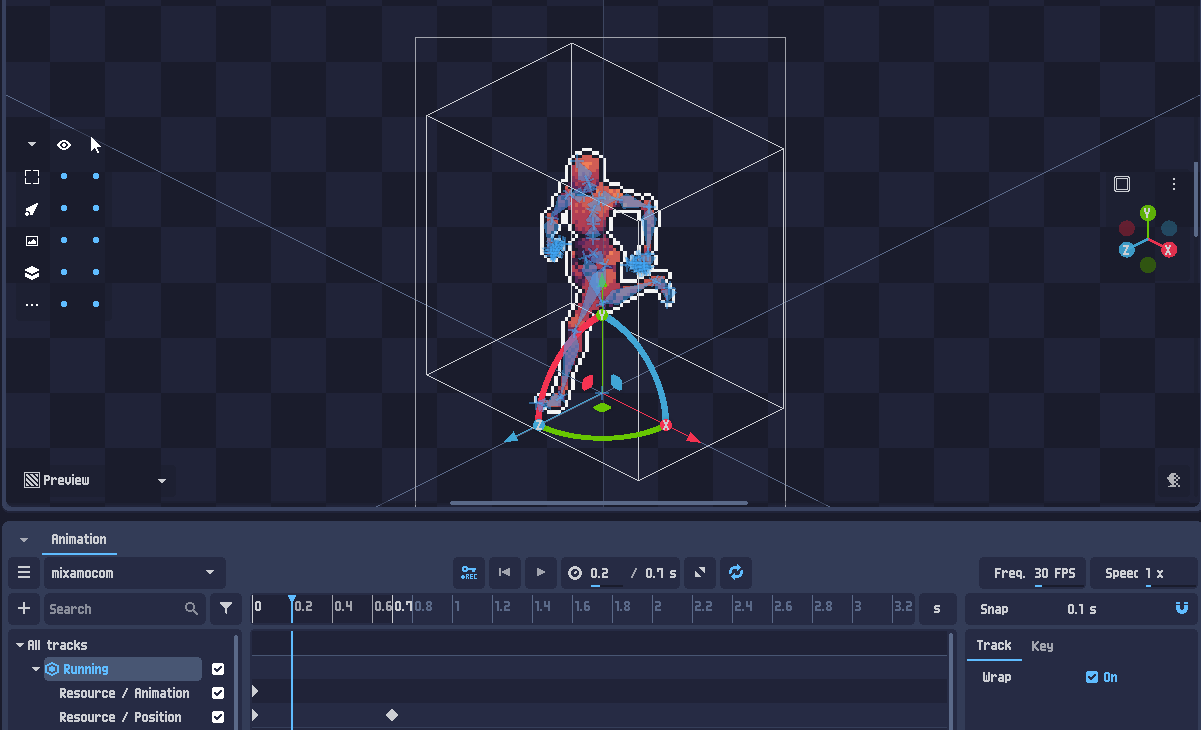
When you run an animation, you can see that the bones are still synchronized with the imported animation.
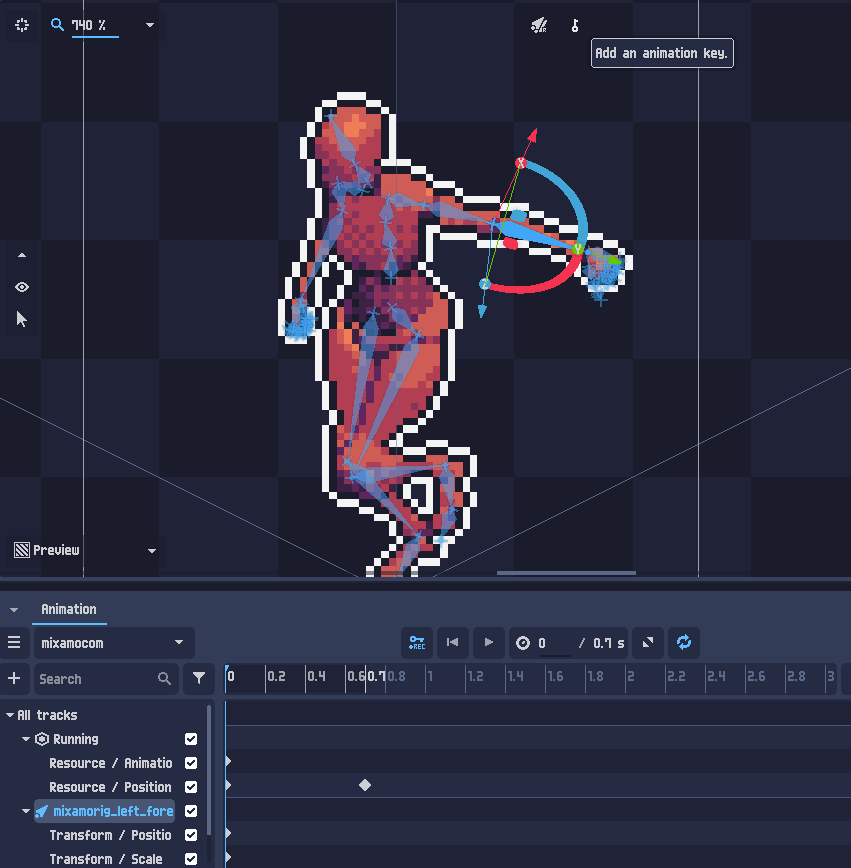
You can select a specific bone and add an animation key so it will now follow the new animation track keys while the rest of the skeleton are still resynchronized to the imported animation.
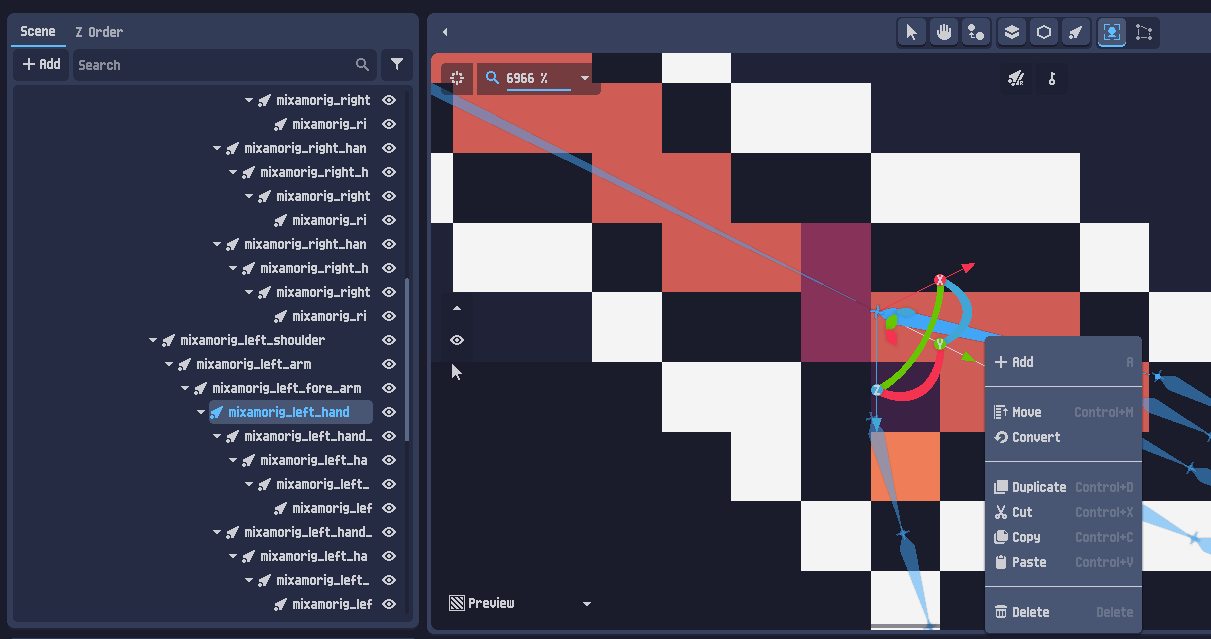
3. Attach Objects to Bones
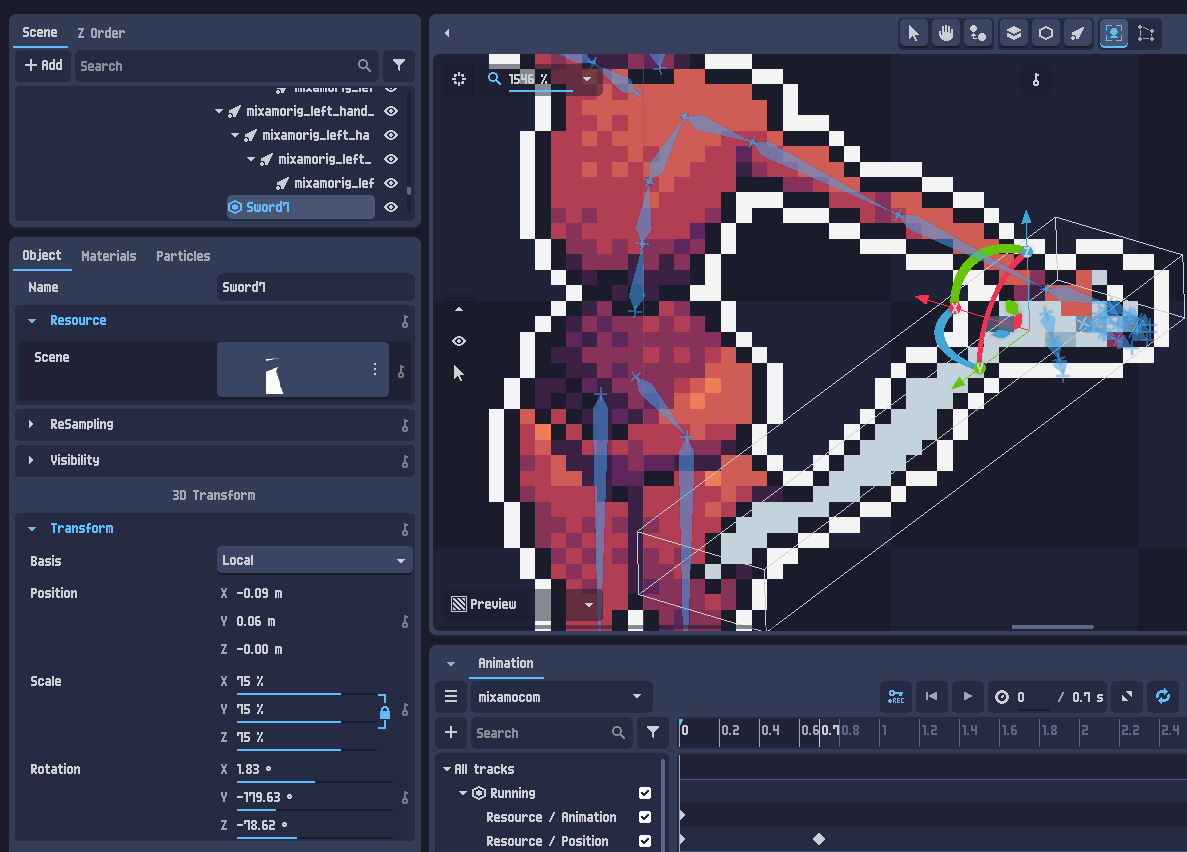
With bones as separate objects, you can attach another 3D object to them. Here I imported a 3D sword model, typically placed at the layer’s root by default.
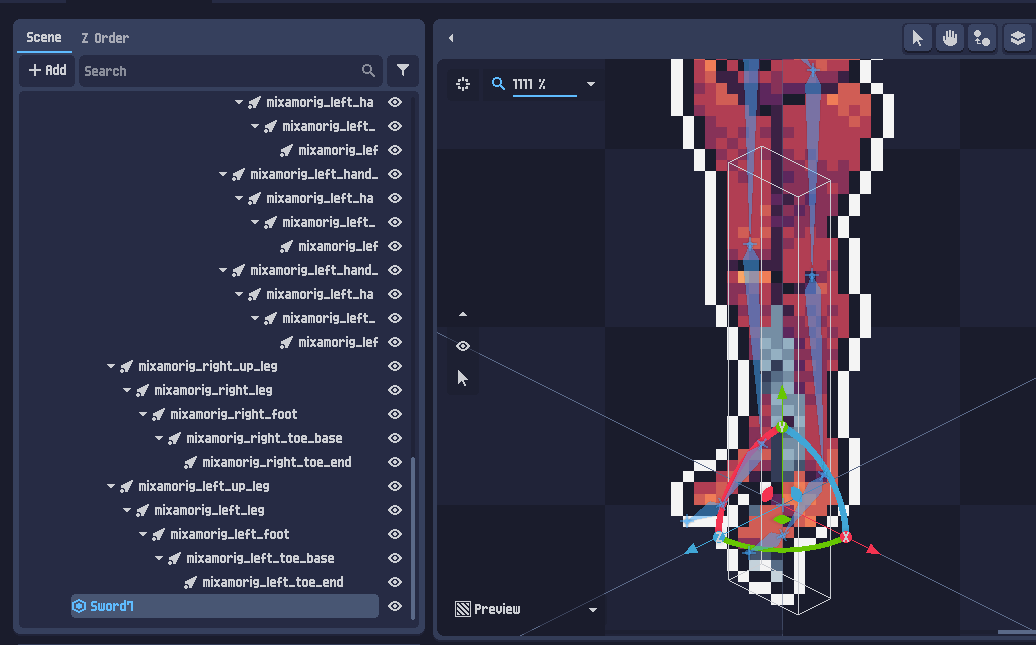
To attach it to a bone, in the scene tree panel, use right click, cut, select the desired bone, and paste.
Afterward you can reset the transform of the sword in the bottom left panel, move the scale, the rotation and the position a bit to place it properly.
Don’t hesitate to use the layer rotation gizmo or the shortcut shift+middle click to see it from different camera angles. You can then use the camera presets menu to return to the desired output camera angle.

4. To Go Further
This tutorial project and other examples are available in the PixelOver download files in the examples/ folder.
If you have any question, don’t hesitate to look at the community.