Bones animation
Hello, this tutorial will give you the keys to making a pixel art bone animation from an artwork.
Summary
1. Requirements
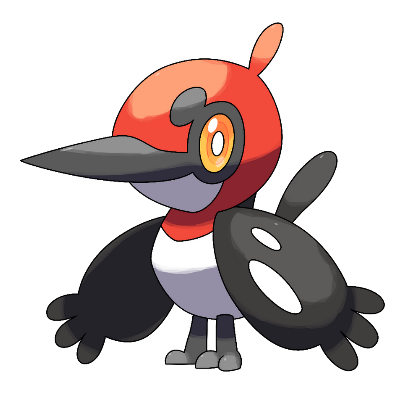
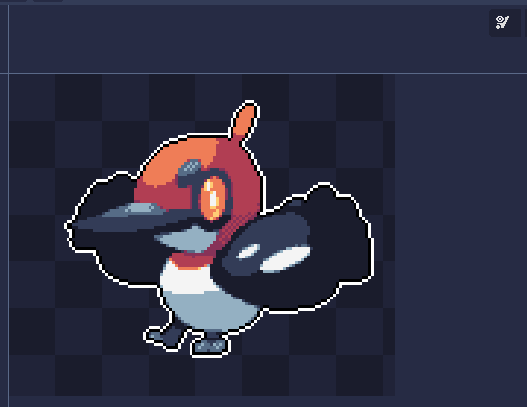
For this tutorial you should have an artwork to be animated. I’m using an artwork of Smiley-Fakemon
You should also have an other editing software to be able to split and fill the artwork. For example Aseprite
Then, we will use PixelOver to pixelate the artwork and animate.
2. Splitting and filling
Next step, we will split the artwork in different independent parts. The head, the torso, the wings, the paws,… Basically all the parts you will want to move independently.
Once you split the different parts, you should fill the missing areas.
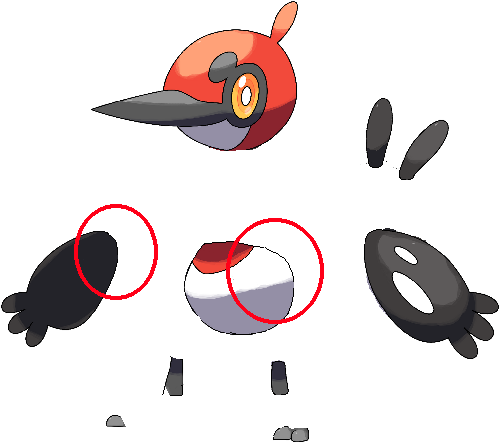
For example, the wings and the torso are mobiles parts, when I split them I re-filled the hidden areas. As you can see, it’s really quickly done as the artwork will be pixelated small mistakes will disappear.
Export separated parts in different images. Images from this example
3. Importation and rigging
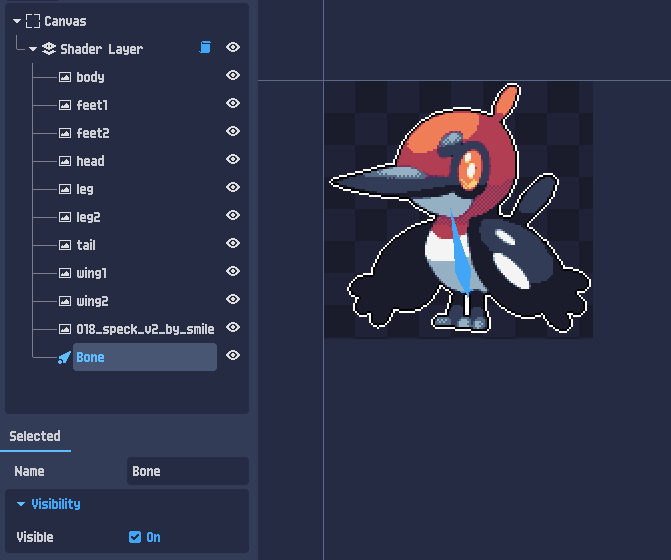
Now let’s open PixelOver. You can directly drag’n’drop all your images from your file explorer to PixelOver and choose to import in different images instead of animated one. (I also put the base image to have a reference)
No need to reorder the images yet as you will have to move them into the bones.
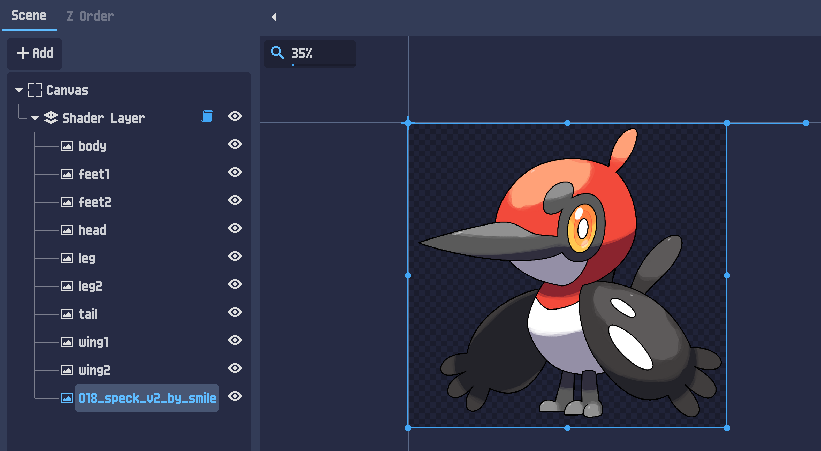
Instead you can select all the images in way to resize them to put the size you want for your pixel art.
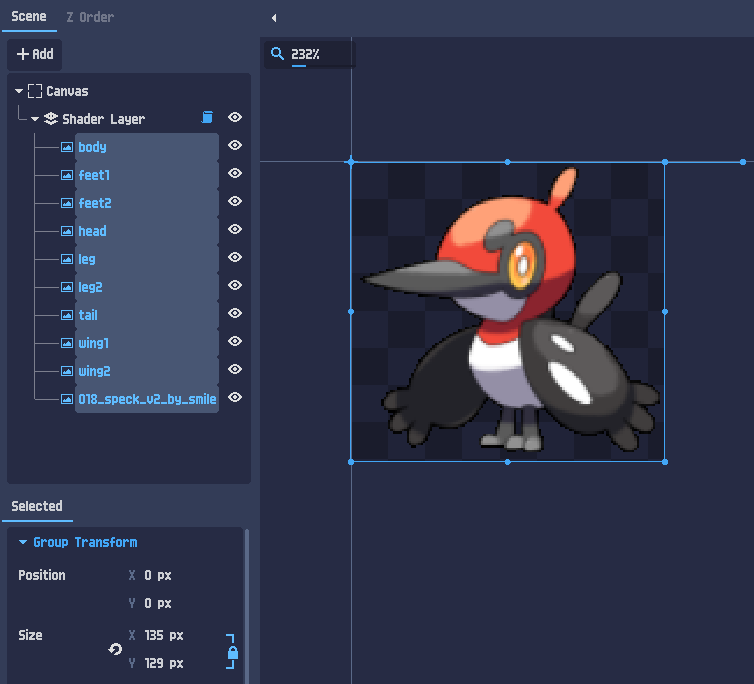
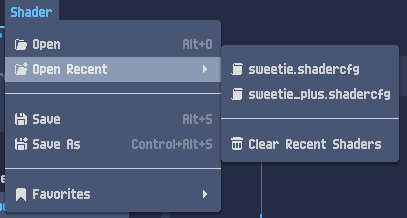
Then apply a shader or directly modify the shader settings.

Let’s begin to rig using the bone tool.
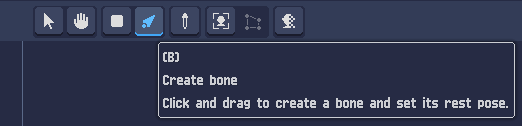
Drag’n’drop to add a bone.
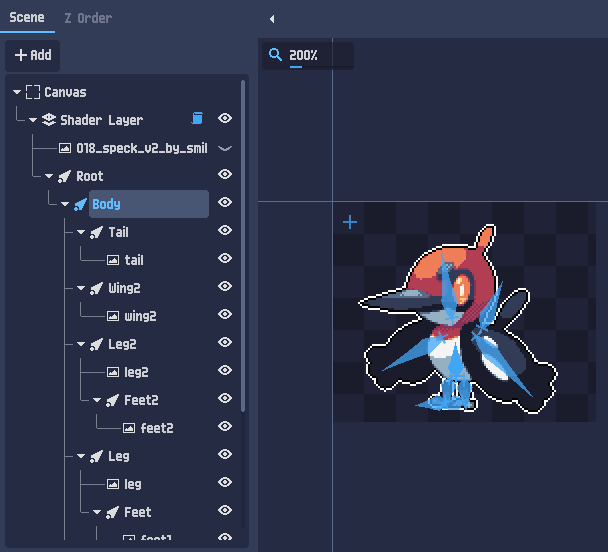
Let’s put the others bones, use drag’n’drop to reorder them and use parent-child relation. Don’t forget to rename them to not be lost.
Now the rigging is finished, let’s animate !
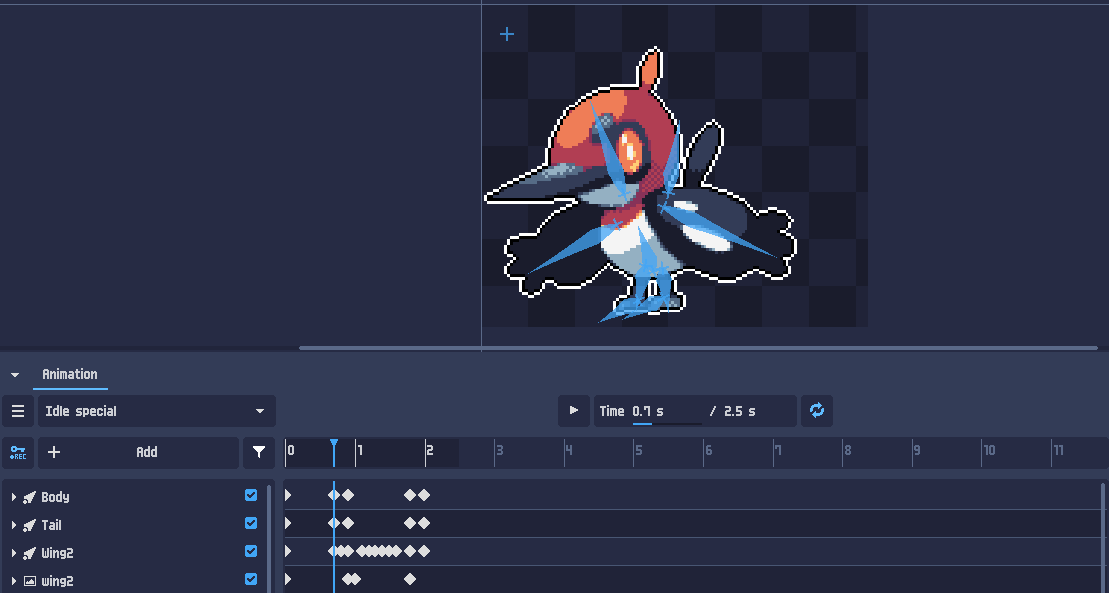
4. Animation
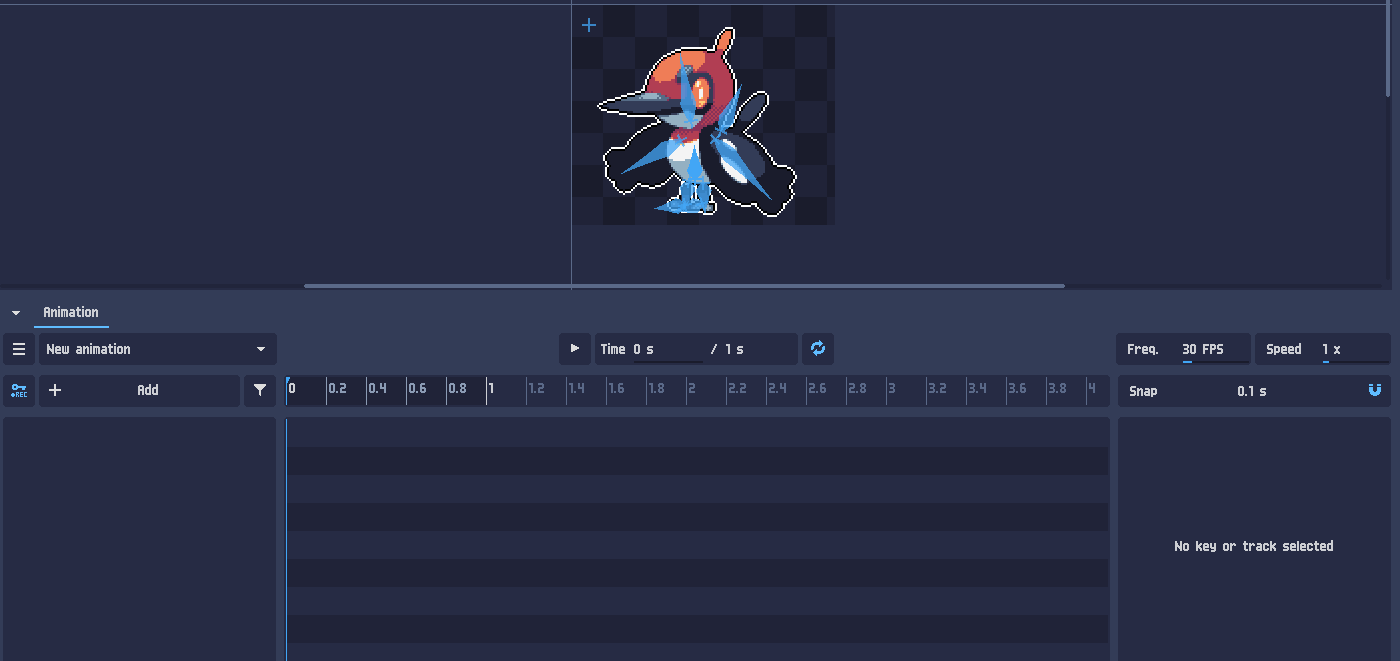
Open animation tab at the bottom. You can rename the animation, set the time length and set the FPS.
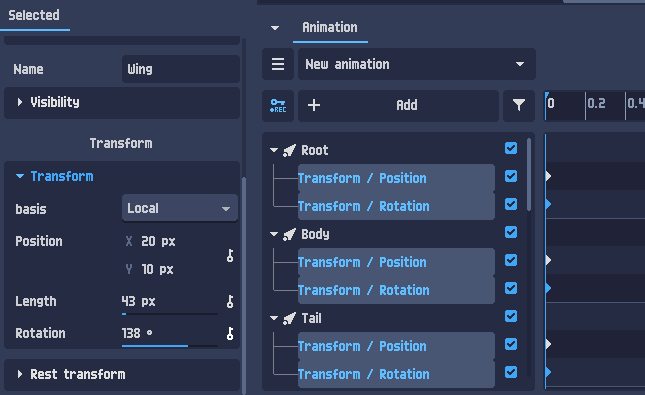
Select all the bones, now there is a key icon next to the inputs. Click on this icons to add key for the Position and the Rotation of all the bones.
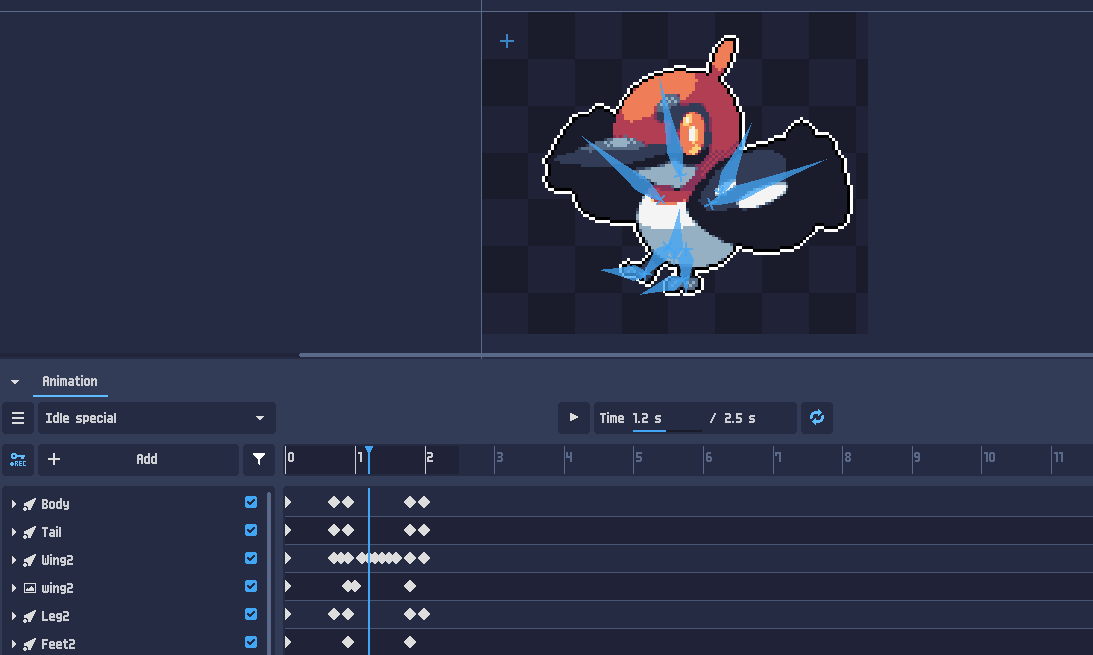
Let’s move forward the cursor to add new keys. Move the bones as you need if the REC key button is activated the keys will be auto created.

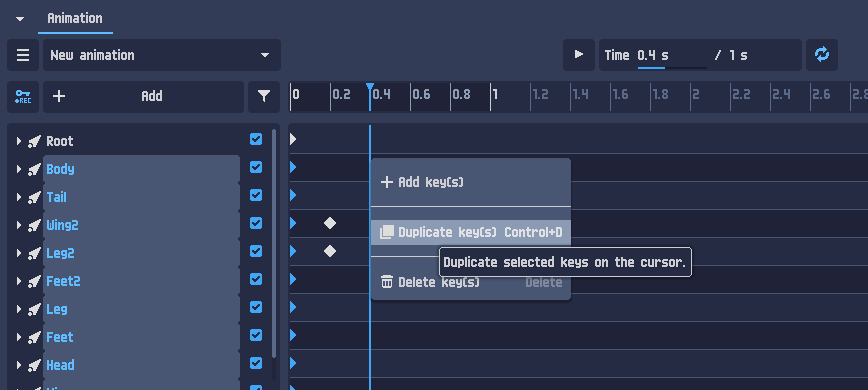
To help you to create the animation, you can select the keys and duplicate them on the cursor.
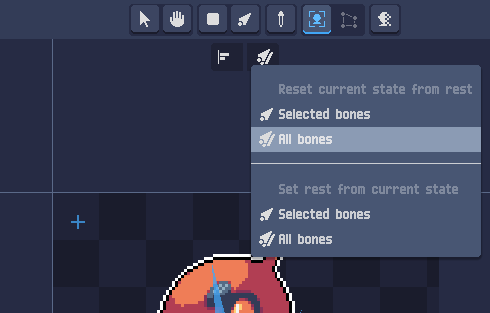
You can also force the bones to return to their rest position at any time.
For example, for this animation, I chose to make a jump.
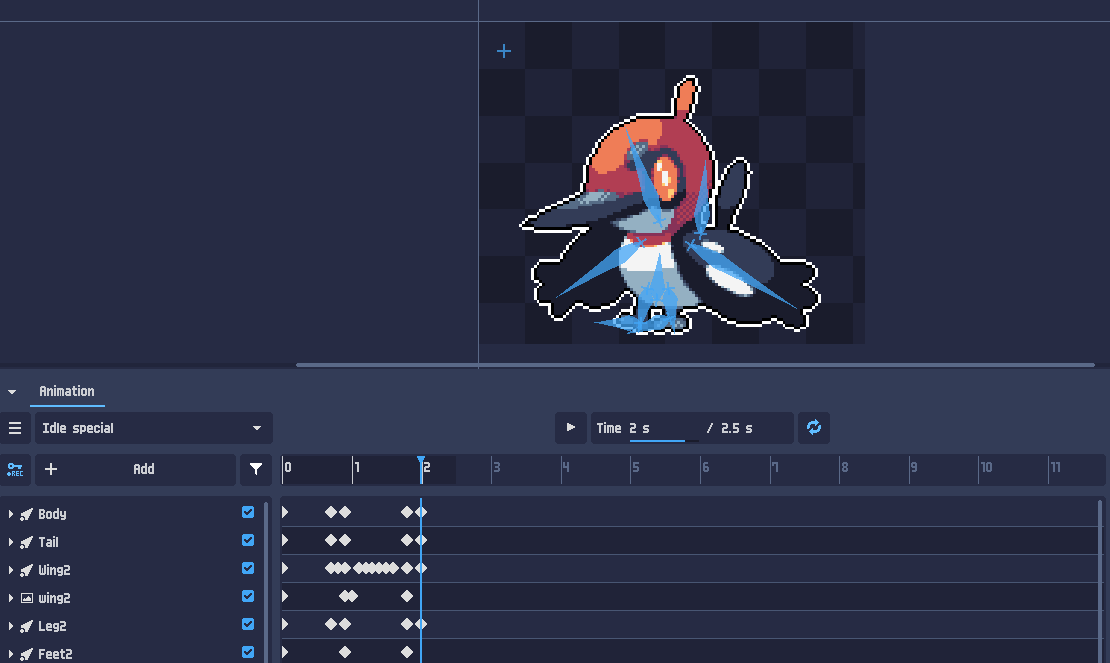
What you need to know is that every movement must be counterbalanced. If it jumps, it must absorb the shock, not just return to its original position.
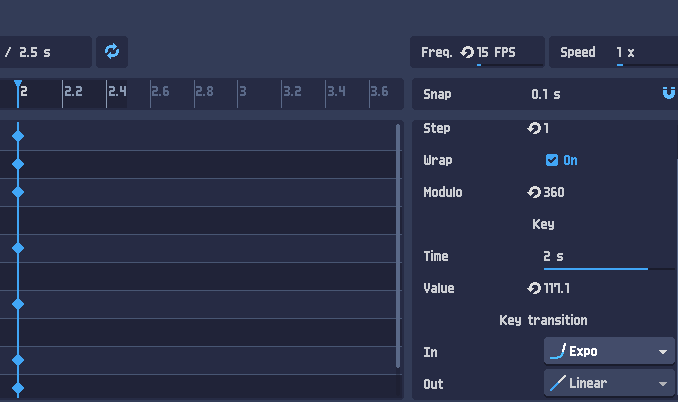
For that you can use easing function on keys but sometimes should be done manually.
5. Export
Before exporting you should be sure to put the right FPS value, you can also hide the bones with the top right button to better see the animation.
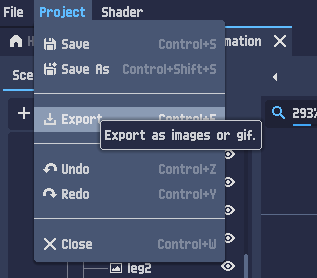
Then you can go on Project menu to export.
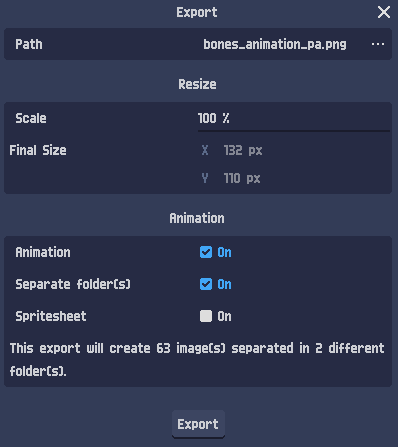
You can choose the file extension (png or gif), rescale the pixel scale and separate animation in different folders or create a spritesheet. A message is also displayed to know how many images will be created.
Here the final result for this examples. Project example available in PixelOver download (in the demo too)

If you have any question, don’t hesitate to look at the community.