Mesh deformation
Hello, this tutorial will show you the main features of 2D Mesh deformation through simple examples.
Summary
- First step
- Mesh generation
- Points edition
- Mesh deformation
- Points key animation
- Bones attachment
- To go further
1. First step
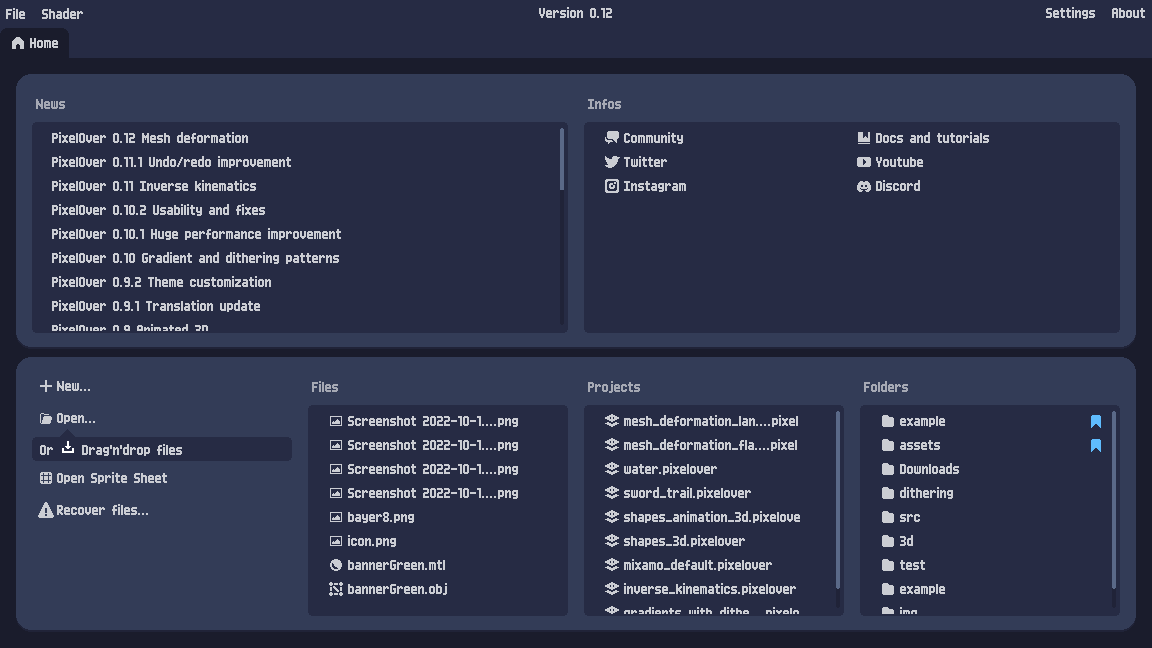
For this tutorial you will need an image or animated image (I’ll personally an animated character by Clembod available here). You can easily import an image in PixelOver by drag’n’drop or you can click on open to choose your files through a file dialog.
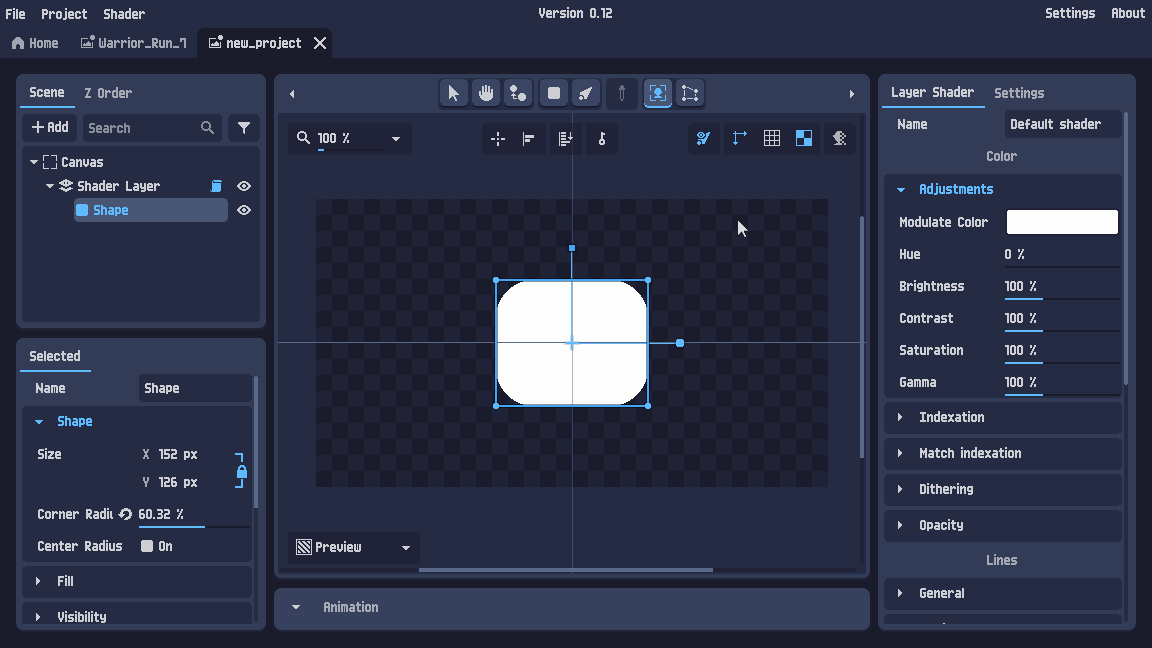
You can also in a new project create a shape with the create shape tool to be able to preview this feature on it too.
Now we are ready to use mesh deformation features.
2. Mesh generation
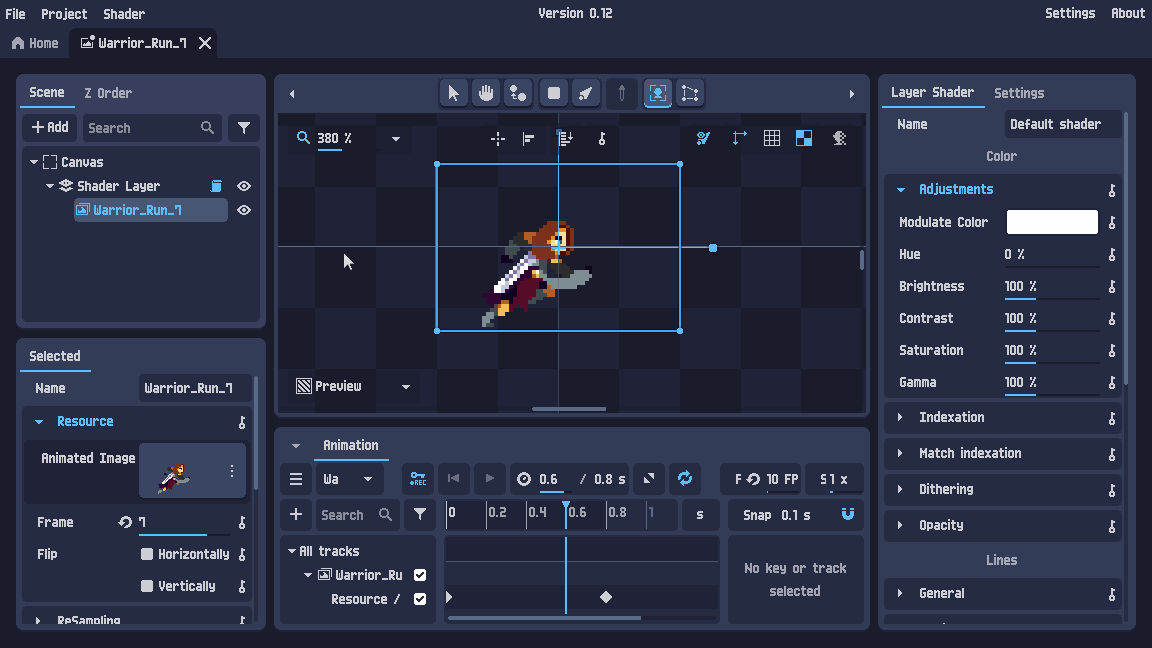
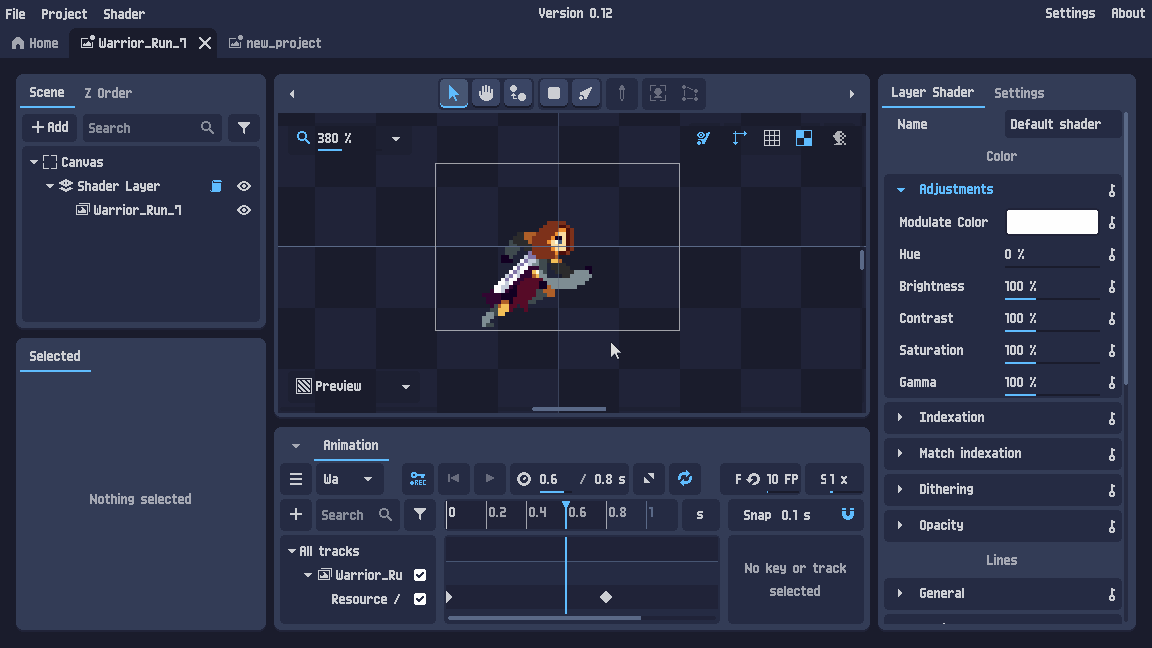
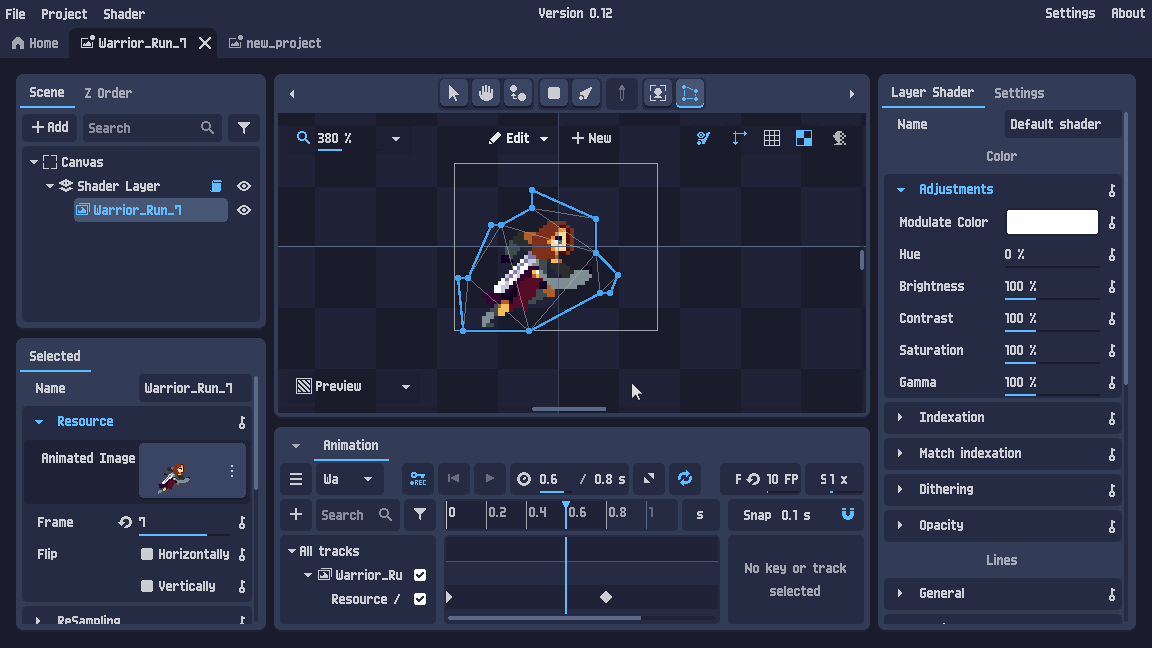
Select your image by clicking on it on the main view or on the objects tree.
Now your image is selected the deform tool is available, you can click on it.
As the mesh is not yet generated, a dialog will appear to let you choose the generation. Shape generation will try to follow image edges while rectangle generation will creates a simple subdivided rectangle.
You can try the same process on the shape (on your other opened project). The dialog to generate the mesh will be a bit different as it will follow the shape settings (rounded corner, etc…).
You can play with the settings to find a good result for your image, else we will see in the next chapter how to edit the points.
3. Points edition
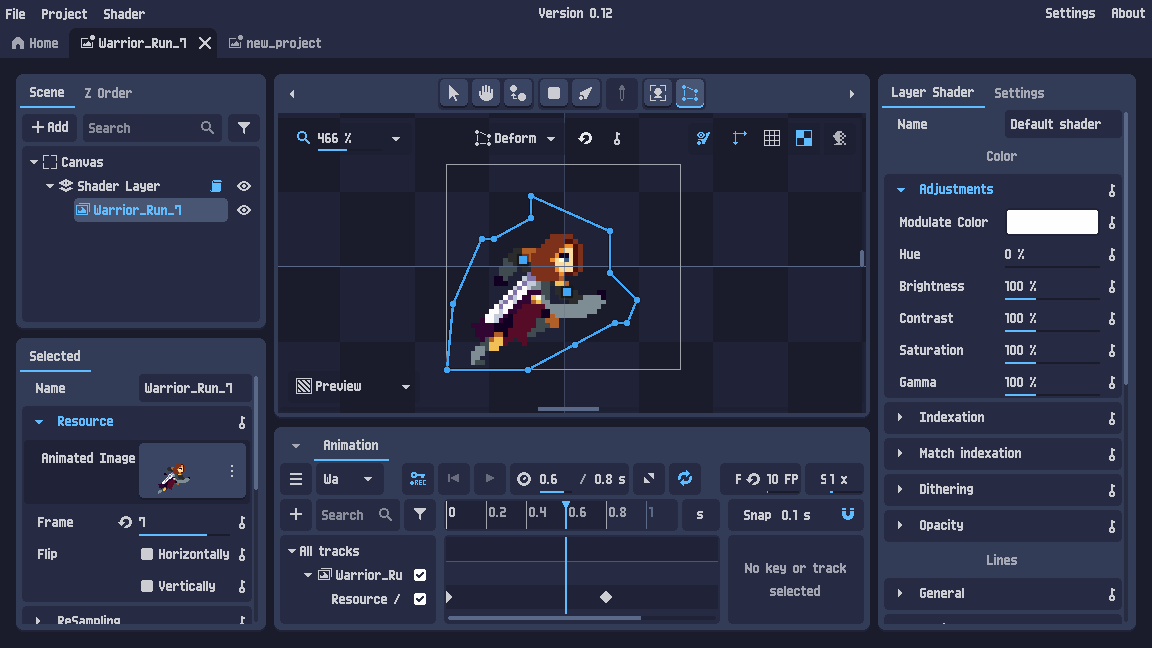
The first time the mesh is generated, the deform tool automatically changes into deform mode. You can click on the subtool dropdown button to switch to edit mode again.
In this mode you can click and grab points to move them. Click on edges to create new points or click into polygon to generate internal points (internal points are not available for shape as there are no textures to deform). In the contextual menu right click, you can also merge the selected points (if multiple following points are selected) or delete the selected points.
If you want to restart from scratch, you can click on “new” button, it will open the generation dialog again.
Now your mesh is well setup, we will see how to deform it.
4. Mesh deformation
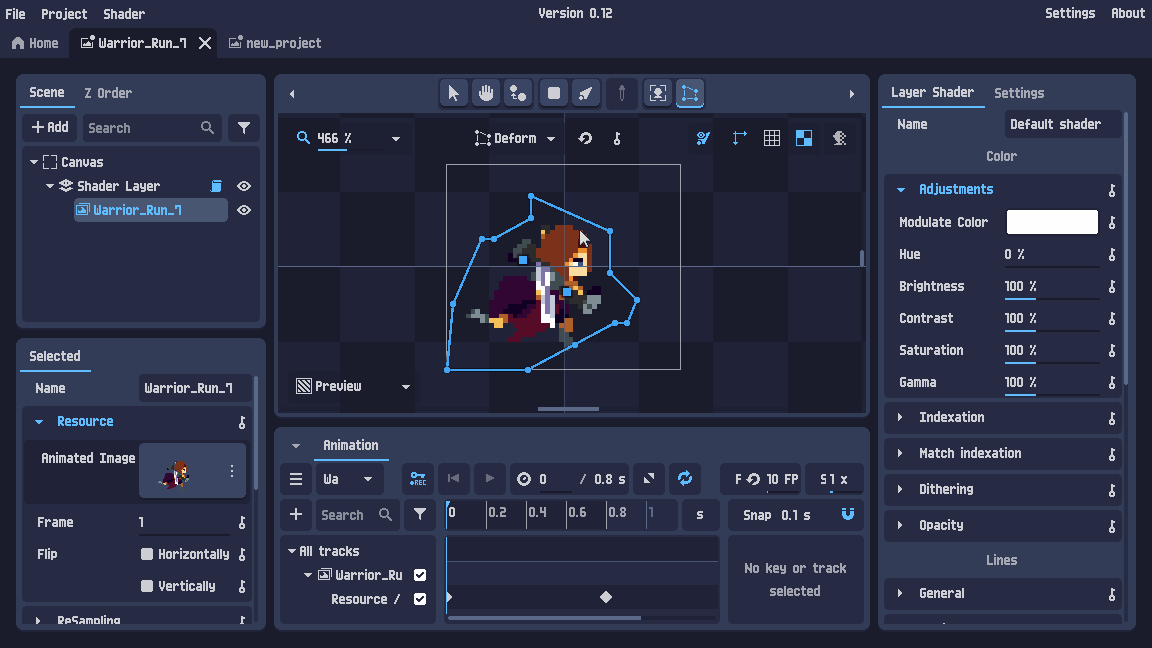
You can click on subtool dropdown button to switch to deform mode.
In deform mode, you can now grab the points or the edges to move them it will deform the mesh.

You can reset your whole deformation to default by clicking on reset. In the contextual menu right click, you can reset only the selected points.
If you want to animate the deformation point by point, it is possible, we will see that in the next chapter.
5. Points key animation
To deform point by point your mesh you can use, in the deform mode, the key button. It will create a new animation and add a key for the current position on the timeline.
Then you can move the timeline cursor and deform your mesh to create the next key.
By default the key will be automatically be created or updated for existing tracks when you are deforming, but you can uncheck it by toggle off key rec button.
Key button for points can also be accessed at any time in the object panel.
Deform your mesh point by point is interesting but it can be faster to use bones, let’s see that in the next chapter.
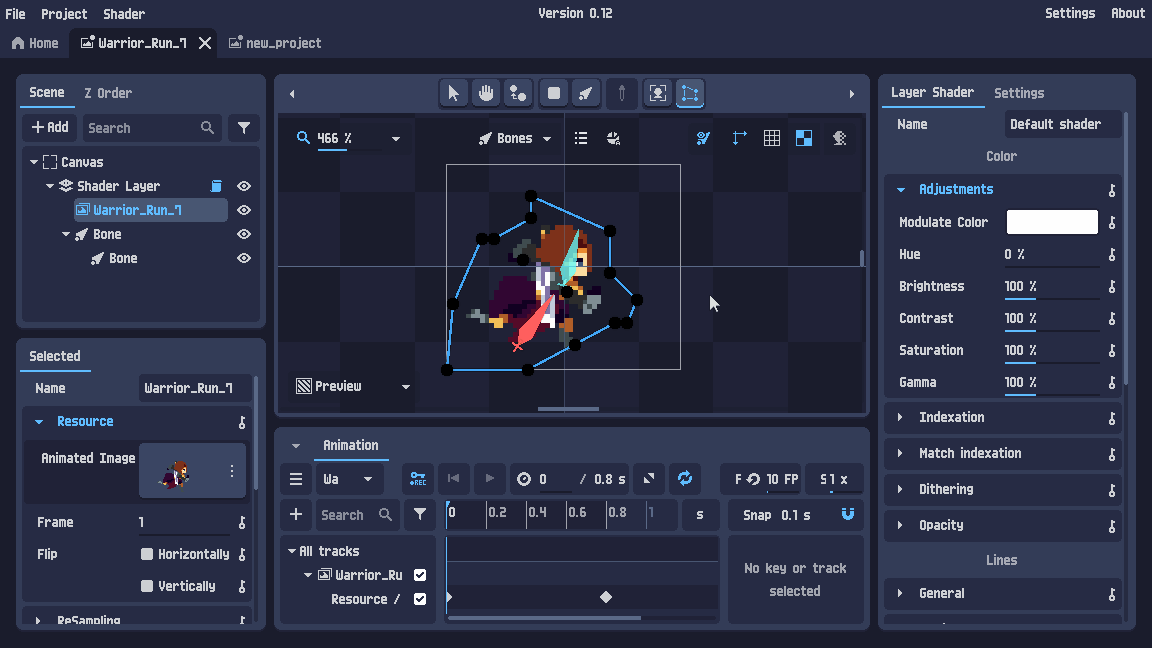
6. Bones attachment
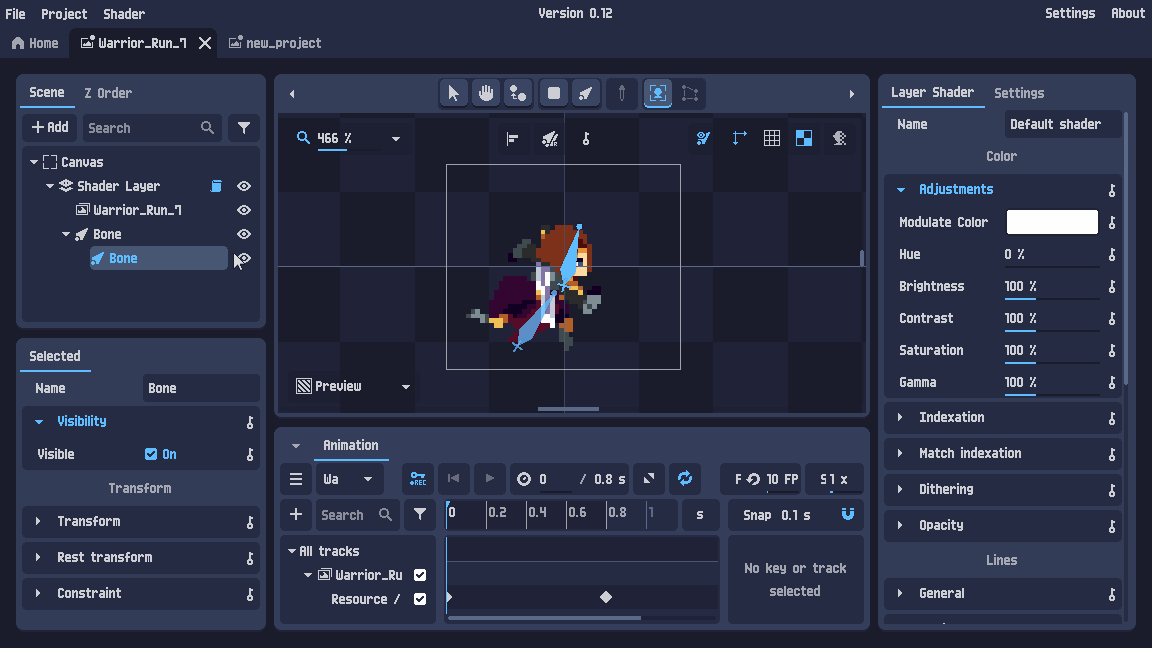
To attach bones, you obviously need to create bones first. To do that select the bone tool and create a new bone.
Reselect it to create a new on in child of the first one. To see how the bones are affected you can see the scene tree panel.
Important if you have transformed (moved, rotated, scaled, changed parent, …) the bones, they are not aligned with their rest state anymore. But when you are attaching bones in the deformation tool, the bones will be displayed in their rest state instead of their current state.
To set the current state as the new rest state, you just need to select any bone (In the scene tree panel for example). And ones a bone is selected, in the subtools section, you can click on the rest dropdown button (A bone icone with a “R”) and select “Set rest from current state” for all bones.

Now your bones are created, you can reselect your image, reselect the deformation tool and switch the subtool dropdown to bone mode.
To attach a bone, you can just click on the wanted bones or you can click on the list button to have a tree view or the attached bones.
The bones are now attached but don’t affect the mesh. To do that you need to add weight to points. There is a button next to the list button which will automatically affect the bones weight.
The auto bones weight is useful but not perfect, it is useful to modify manually the weight, to do you can select a bone. Now you can slide up or down on the points to increase or decrease the weight. If you want to modify the exact value, you can also directly click on the point to display a dialog with each bone weight input.
A contextual menu right click, is also available to auto affect the weight just for the selected bone or to detach a bone.
Now you fully have setup your mesh with bones, you can check the next section to go further.
7. To go further
That’s it ! You have seen all the features available for mesh deformation.
You can check mesh deformation examples available in PixelOver download (in the demo too).
You can also follow this tutorial to create a bone animation.
If you have any question, don’t hesitate to look at the community.